Over the last 15 years Russell has developed a diverse skill set to support his public art practice, including the use of CAD and 3D modelling as well as high-level fabrication abilities. While many artists working within the public realm outsource the fabrication of their work, Russell’s mix of skills allows him to take on both the design and fabrication of challenging projects. Additionally, the interplay of Russell’s design and fabrication skills allows him to create robust, yet nuanced works with strong attention to detail.
The level of skill in Russell’s work can make it difficult for the viewer to comprehend its creation, so he has documented the process behind a recent commission below.

Apparatus for Non-destructive Transmission of Biological Visualisation – Photo by Alan Warren
Broadly speaking, there are five stages in developing work for a public art project:
- Sketching
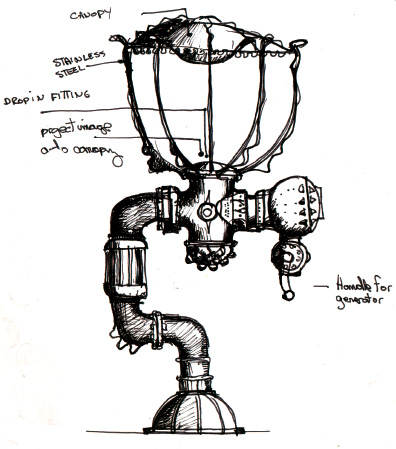
Initially Russell roughs out multiple sketches, creating variations on a theme. From these a form emerges which he then commits to a 3D visualisation program. - Concept Design
Using 3D Max Russell works up a detailed concept illustration of the sculpture. As well as the appearance of the work, he also considers the engineering, materials and constructability of the design. - Design Development + Documentation
Before going any further Russell consults an engineer to see if his idea seems ‘doable’. Taking feedback from the engineer and client into account, Russell commits the work to Alibre (parametric modelling program). At this point he creates a definitive representation of the work, taking into account the materials, how the components are joined, where welds will be needed and the sizes and types of fasteners that will be used. He essentially does a virtual ‘build’. From here he outputs 2D mechanical drawings, which are shared with the client, built environment professionals involved in the project (such as architects and landscape designers) also provided to an engineer for certification. At this stage Russell creates a bill of materials, identifying and costing all components and additional services such as laser cutting, polishing, metal spinning, transport and installation. - Construction
The majority of Russell’s work is built in his off-grid studio in the Sunshine Coast (Queensland, Australia) hinterland. Russell also works with specialist manufacturers for processes such as large format CNC machining, laser cutting, metal spinning and structural welding. General fabrication, CNC lathe work, CNC routing, plasma cutting and TIG and MIG welding are all done onsite in his studio. - Installation + Commissioning
Russell project manages his own work from design through to installation. This includes liaising with other project staff on the inclusion of piers or footings and negotiating access and timelines for installation. Once onsite, a crane is used to winch the finished work into position. Sometimes installation can be as simple as bolting the work in place. Installation can take anything from a day to a week depending on the complexity and whether it connects into any services (eg lighting).
Stage 1 – Sketching
Stage 2 – Concept Design

Stage 3 – Design Development + Documentation

Stage 4 – Construction


Mocking up using timber templates to working out structure and curvature of central support.


The addition of internal structure (timber template shown here) allows smaller/lighter pipe to be used.


Laser cutting can be expensive, so working out fit and potential issues in timber using onsite CNC router saves time and money.


Dome is purely decorative to cover structural elements that are necessary for strength.


Decorative struts, inspired by sea urchins protect the shallow copper dome from birds and misadventures.


Templating ‘umbrella’ section and reviewing spacing and balance.


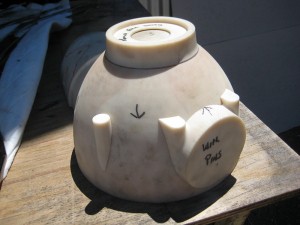

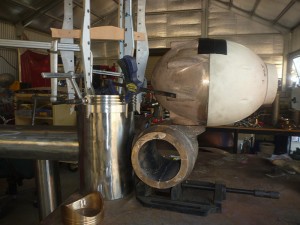
The bronze ‘pod’ holds the delicate internal automata. The process for creating includes:
- designing components on computer
- the file is either 3D printed onsite or sent away for ‘printing’ if too large or higher resolution is required
- the patterns (positives) are supplied to a casting firm
- rough bronzes are then CNC machined to be able to seal and accept mechanical components
- the bronzes are then polished
Internal Automata
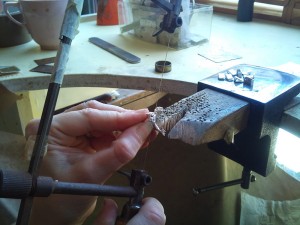
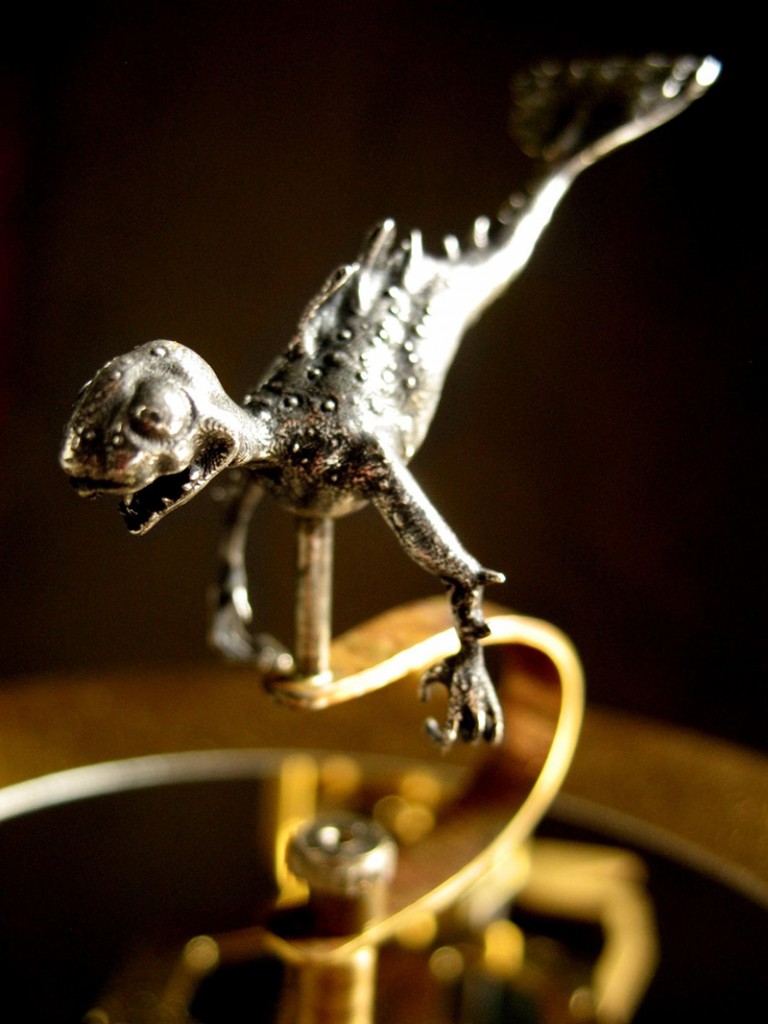
In some ways the internal automata is treated like a separate sculpture, with its own design development process. From his chosen sketch Russell creates a 3D model of the feature item, in this case using zbrush (film industry standard creature modelling software). This is then outputted to ultra high definition 3D wax printing, which is used as a lost wax positive for casting in silver. Along with the creature, electronics, a DC generator and lighting was also installed.


Ready for Installation

